Clear the deck, have I got a great DIY craft for you on this beautiful Monday!
My boyfriend and I have been living in a wonderful, cozy rented house for a few years now. Given the restrictions of renting, I am always on the lookout for creative ways to freshen up our home with bright pops of color that follow the rules of renting. No splash of paint for us! However, the increasingly popular personalization and customization of home décor inspired me to throw together several DIY nautical letter flag pillows for our house and Blair’s apartment.
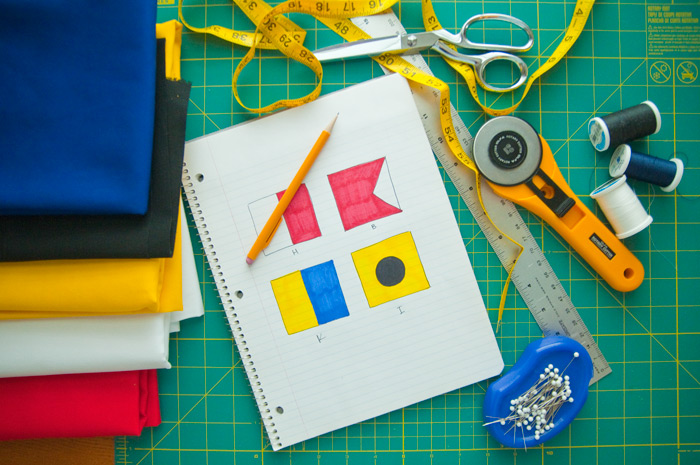
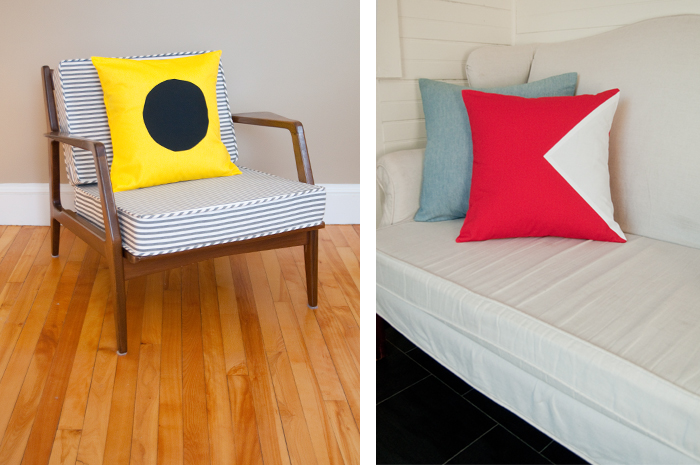
I love nautical flags for their bold graphic color blocks and primary palette. They’re just what our all-white bed needed! The sentiment of the initials, a unique and subtle monogram of sorts, is an added touch that makes these pillows special to the trained eye. I made an ‘H’ and ‘K’ for our bed, and a ‘B’ and ‘I’ for Blair and her boyfriend. Pick your letter here and follow the below DIY tutorial to make your own nautical letter flag pillow!
Fair winds and following seas, Hayley
First things first: select the square pillow(s) you want to cover and gather fabric in the colors of the flag letter, thread, pins, ruler and/or measuring tape, scissors and rotary cutter if you have it (although you can do everything with just scissors).
The pillows I used are 18″ x 18″ so I created a 19″ x 19″ pattern to allow a 1/2″ sewn edge on each side.
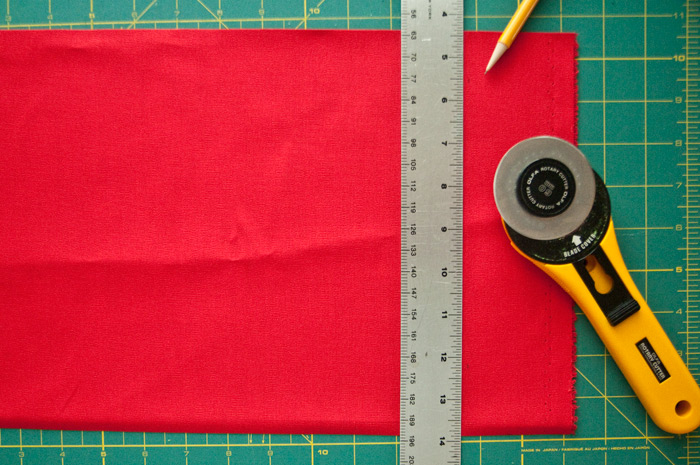
I cut the front panel pieces for the letter ‘H’ (red and white) and ‘K’ (blue and yellow), each measuring 10″ wide x 19″ high. Then I created my back panel by cutting out 2 longer red and white panels, measuring 10″ wide x 28″ high. I sewed the panels together with a center 1/2″ overlap.
Next, I cut the back panel across the middle, this created the two pieces for the pillow’s back envelope closure.
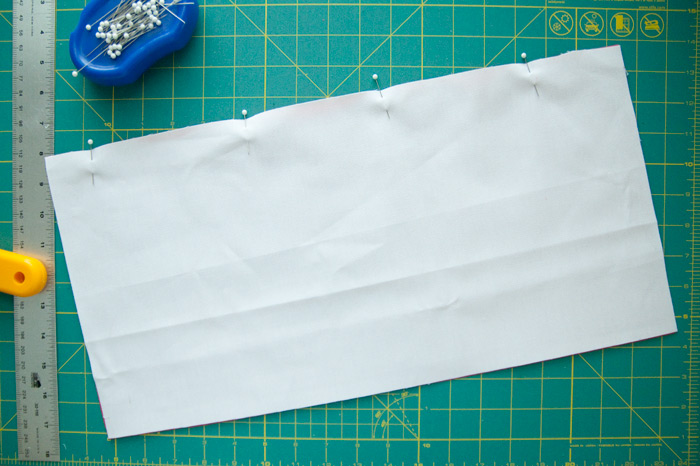
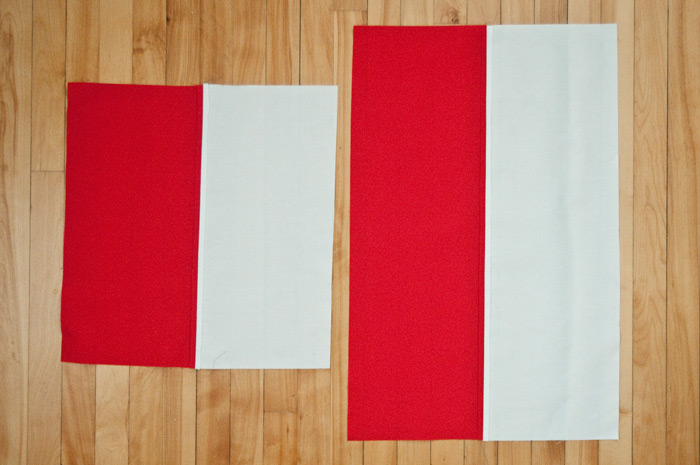
I rolled the raw edges twice and pressed them with an iron before sewing the finished edges (see above right image). I ended up with 3 red/white pieces; front 19″ x 19″, back flaps each 19″ x (a little less than) 14″. As an alternative you can use a solid panel for the back section but will still need two pieces measuring 19″ x roughly 14″. Above is what my front (left) and back (right) panels look like at this stage.
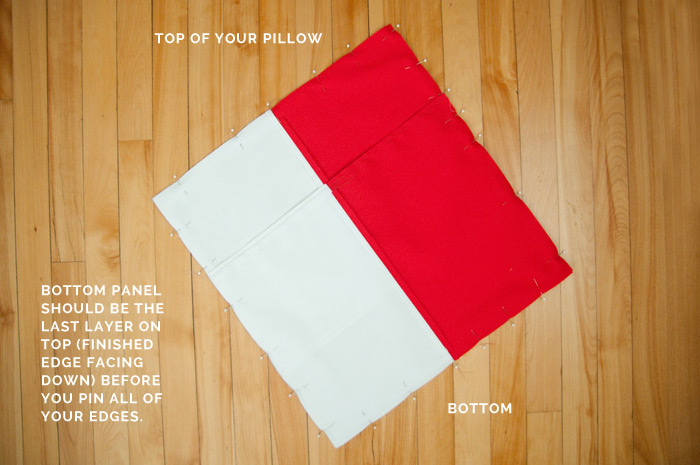
To assemble the pillowcase I first laid the front panel flat with the finished side facing up, followed by the top back panel, finished side facing down, and finally the back bottom panel, finished side facing down. I pined all four edges in place.
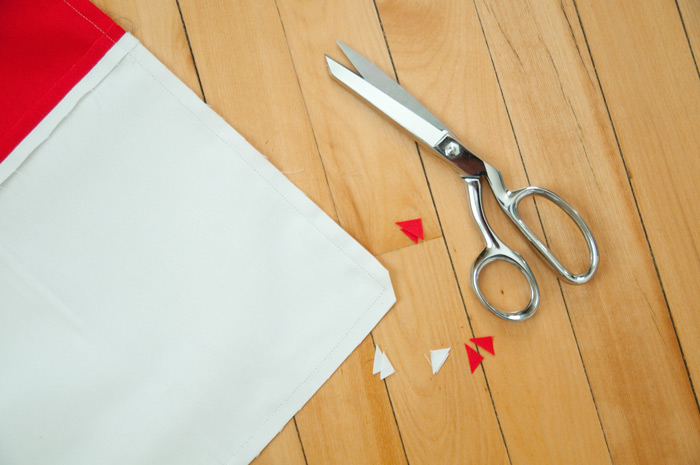
As I sewed around the 4 edges I left about a 1/2″ edge. Once complete, I took my scissors and cut a 45 degree angle at each corner leaving a little under 1/4″ between the edge and sewn corner point- this will make for a crisp corner! I turned the pillowcase inside out and used a pencil with the eraser end to push out the corners. Finally, I press the edges and stuffed it with the pillow!
If you have any questions about completing your own nautical letter flag pillow feel free to shoot me an email, hayley@eklundgriffin.com!

