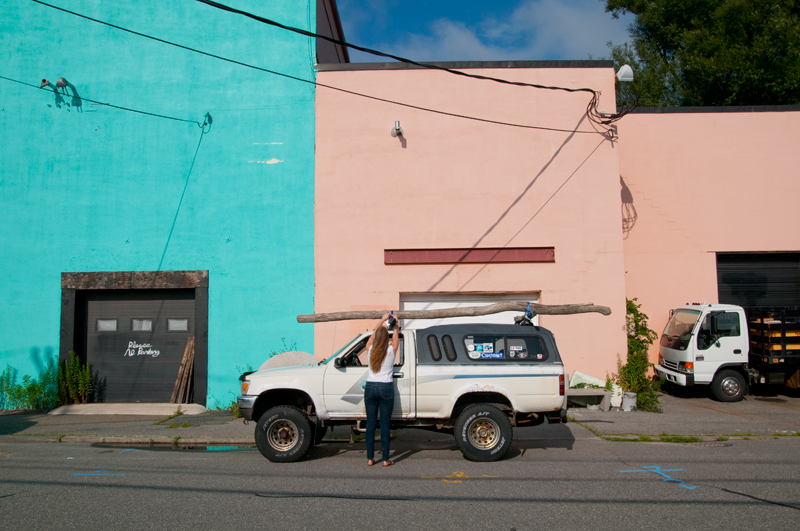
“Oh, look! A hefty, telephone-pole-sized log of driftwood! Picture frame DIY time?…” said no one ever. Well, except for Hayley and me. We said that. Simultaneously.
It all started here. Innocently enough, we hauled that gorgeous piece of driftwood from the neighborhood beach with a grand vision. It was high on the beach, not waterlogged and nicely weathered… the makings of something beautiful, no doubt- and with a perfect range of gray hues for the bedroom that was just renovated in our dad’s house. It made the perfect picture frame for this space… after a fun, albeit prolonged, DIY attempt.
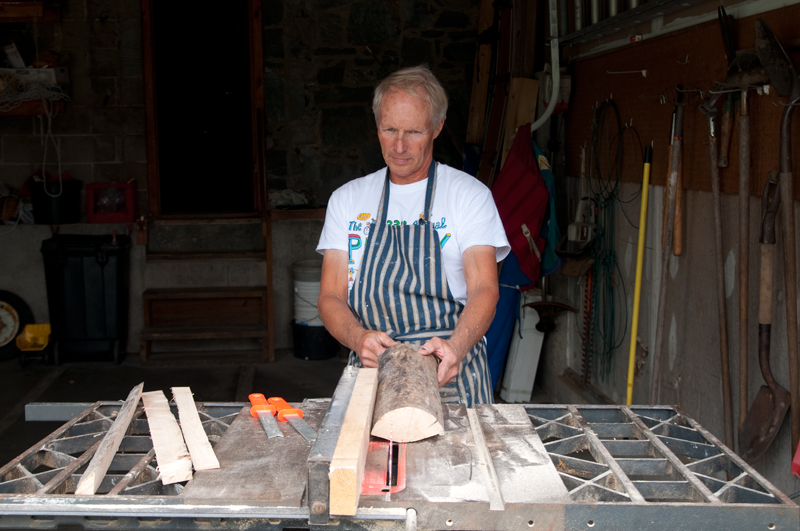
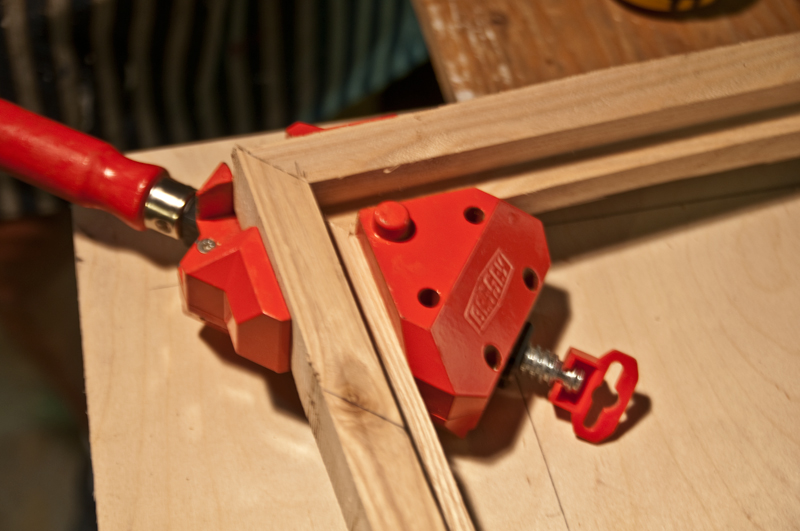
* I would like to acknowledge that this DIY was, to us, a deceptively straightforward project that quickly turned into more than we bargained for. We don’t have a table saw in our basement and we don’t expect that you do either. We invaded our dad’s workshop and consulted with neighbors and friends to help with this frame. There are many ways you can interpret and execute this concept, so don’t let our trials deter you.*
Download the how-to here: DIY Frame Instructions or shop Etsy for something similar.
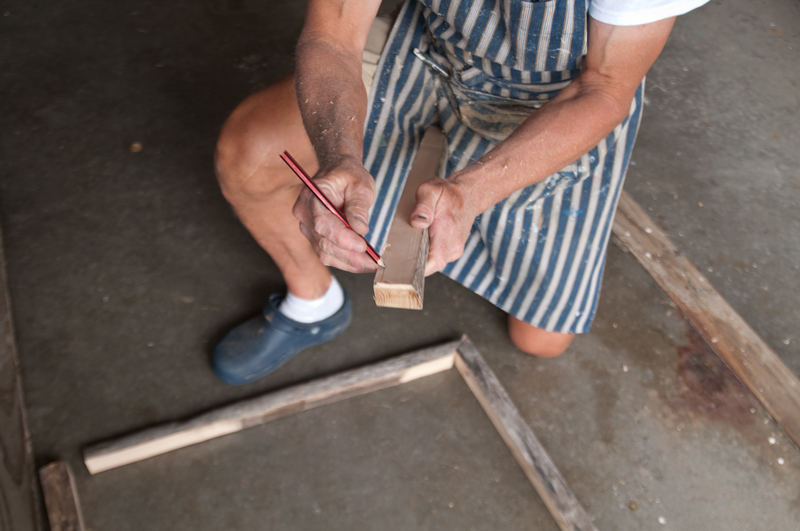
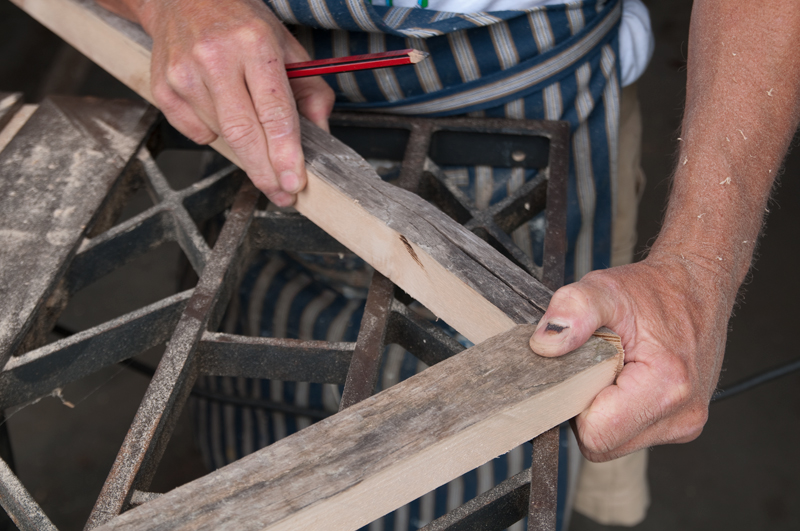
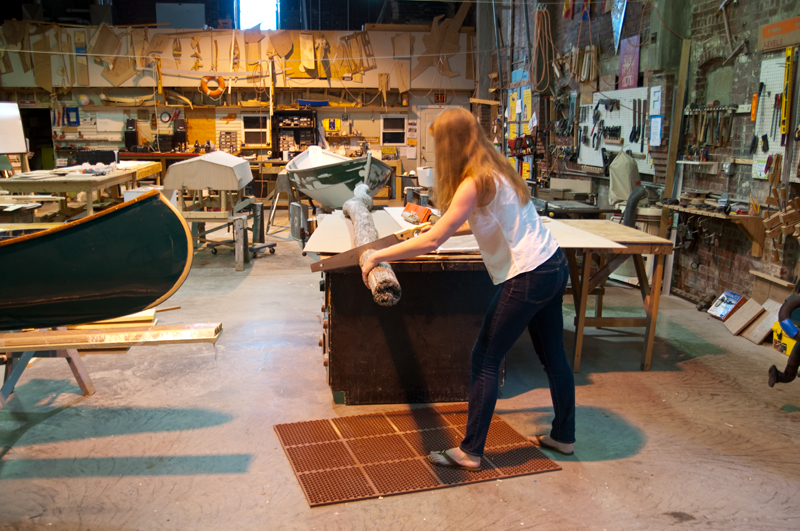
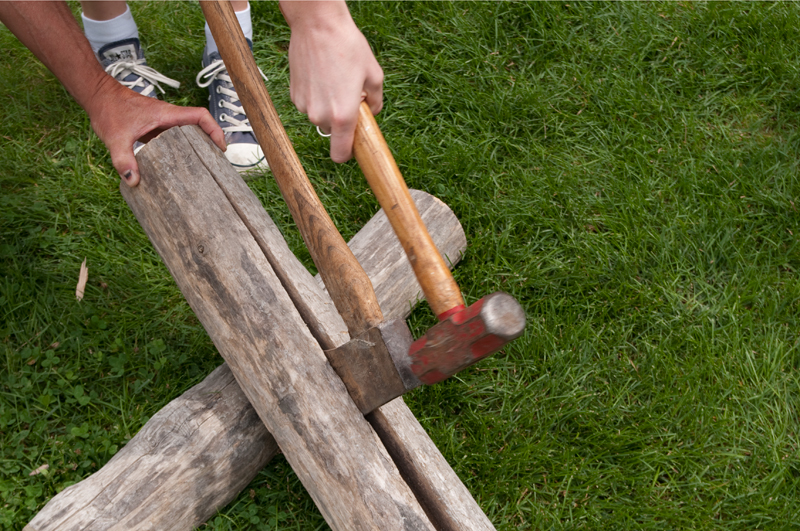
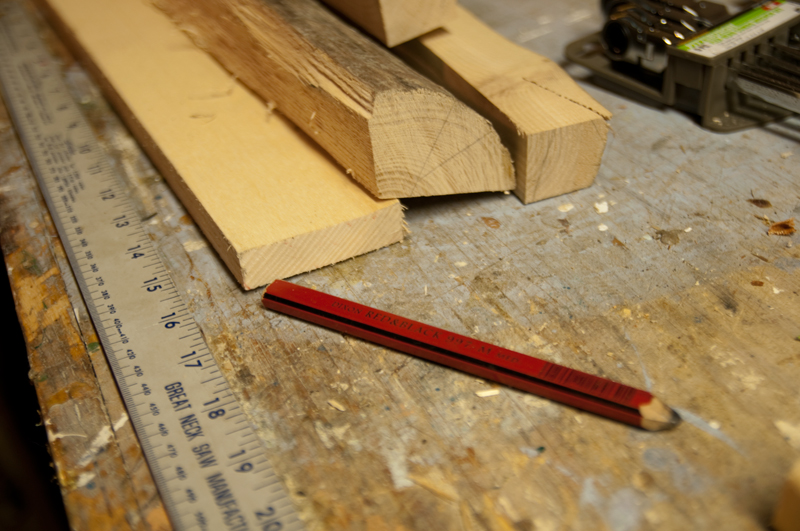
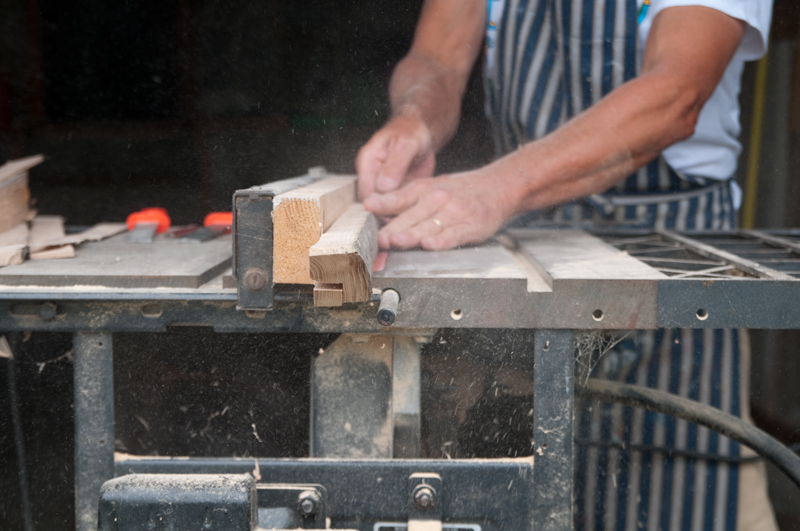
First amateur hour error: we started with hand tools. Ha! Right? “It’s cool, I work out,” I said. I grabbed a handsaw off the wall of a friend’s workshop and broke a serious sweat sectioning the log into the correct lengths for the frame. Hayley and I took turns, thank goodness. Seeing minimal progress with major elbow grease we eventually got tired and hungry and packed it up for another attempt on another day. Then our next-door neighbor, a fairy godfather of sorts who has been a hobby woodworker for years, took us under his wing. He whizzed through our project and proved that it’s all about being properly prepared and educated about the tools you’re using.
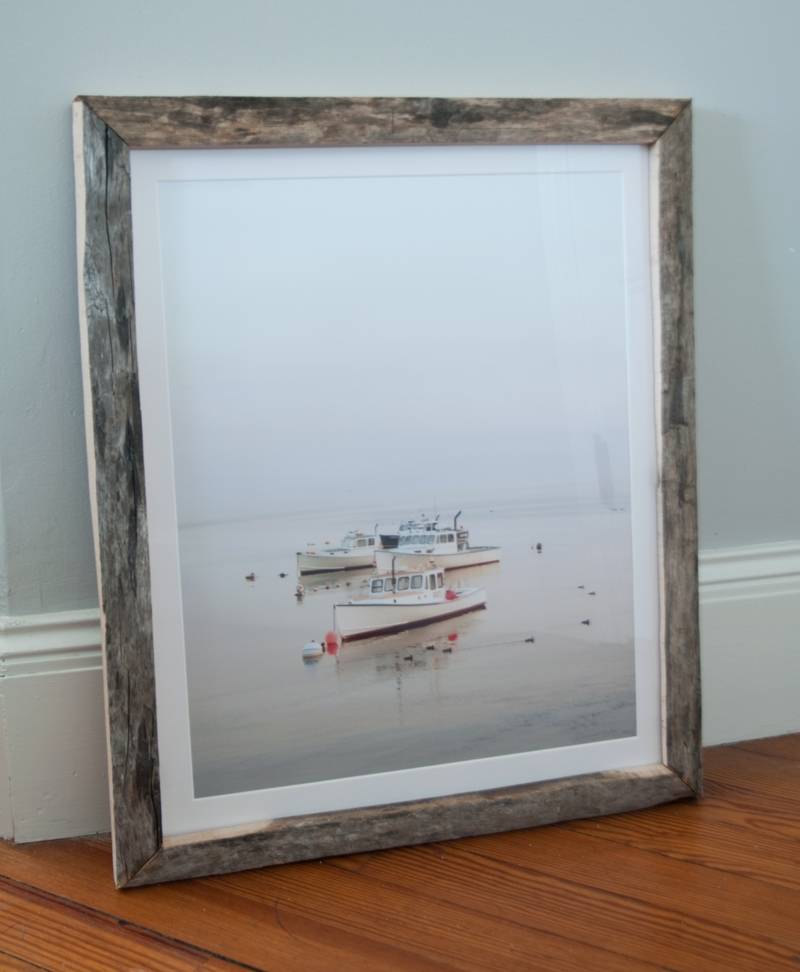
After we had the frame to hold in our hands, we went to the frame shop and had glass cut to size to fit the lobster boat print Hayley ordered from Shutterfly. If our DIY attempt has frightened you off, Shutterfly has wood wall art in their home decor area that you can customize- much easier!
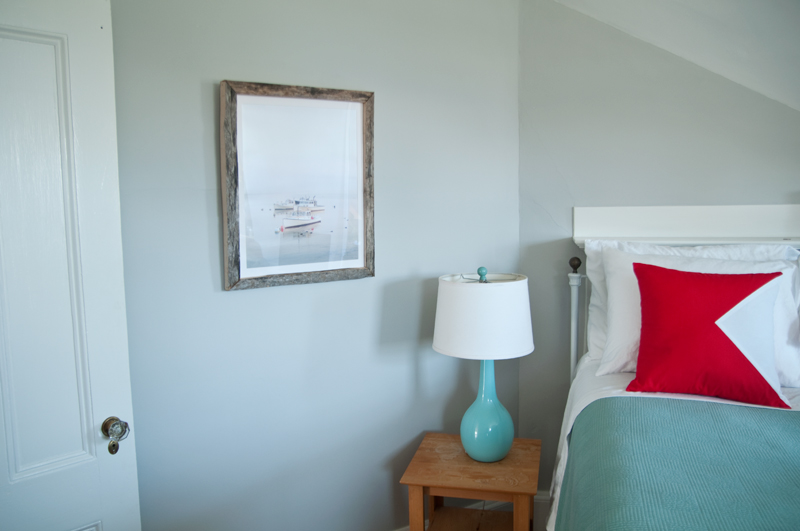
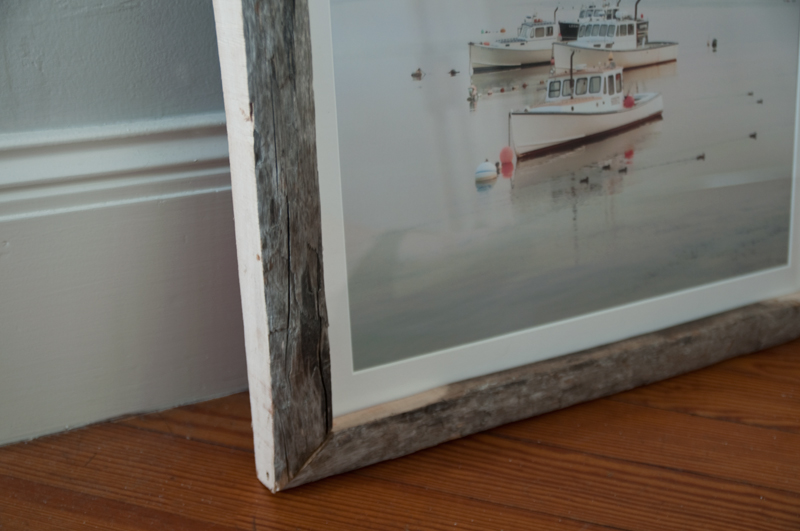
Remarkably, the final product looks just like a picture frame! The mat and print make the whole thing look pretty professional, too. The soft image of Monhegan lobster boats blends into the wall color and one day we may stain the edges of the frame a gray to match- but for now the driftwood frame is too beautiful to take back down. It ties in nicely with the colors of the room, the buoys in the photo even calling out the nautical throw pillow (a much easier DIY) on the bed.
Overall, we would deem this fall project a success!
Triumphantly yours, Blair + Hayley
