Confession: I save catalogs. The pages are filled with beautiful photographs of varied textures and patterns. I just can’t toss them. Anyone else? I’m thinking I’m not alone here.
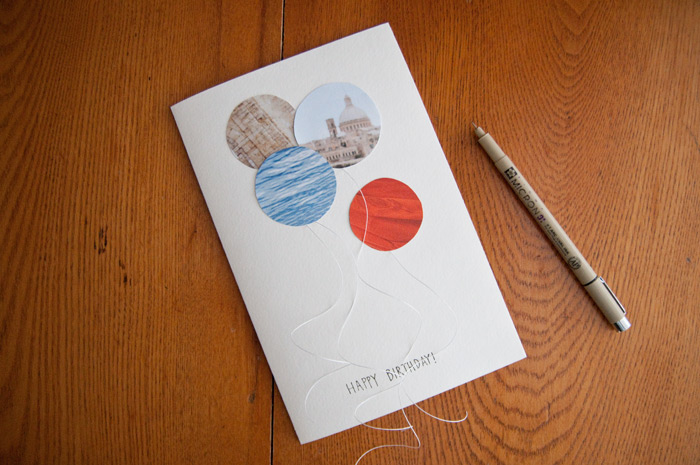
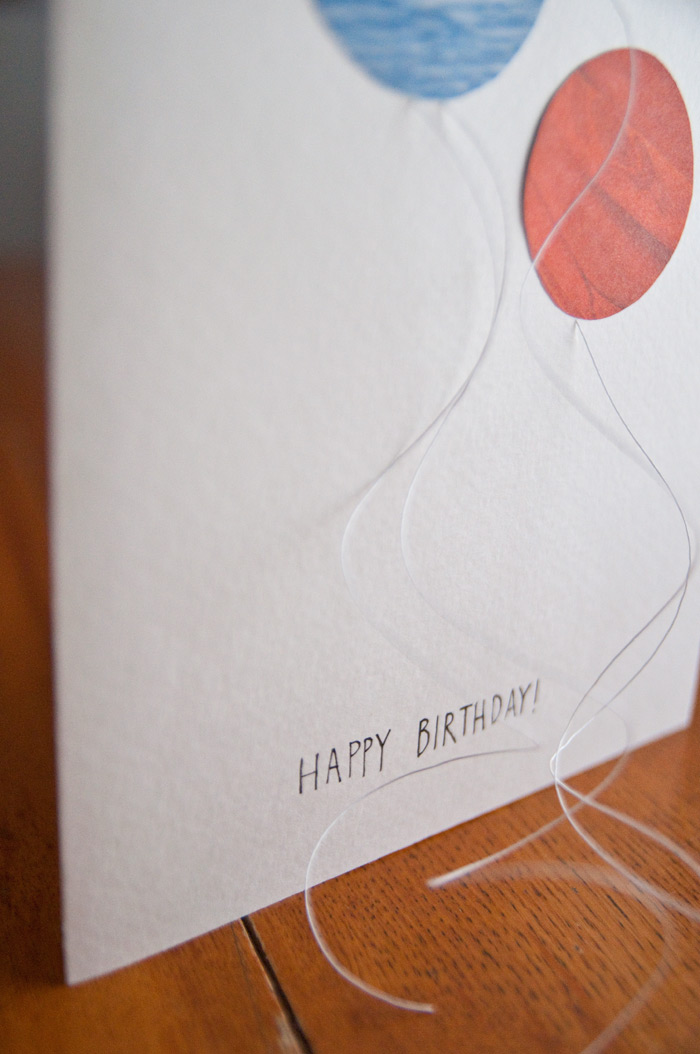
One afternoon I was searching around my studio for materials to make a birthday card when I spotted my catalog collection… light bulb! The classic birthday balloon card got an upcycled, creative and personalized makeover. I snipped circles of beautiful textile patterns and lush foliage from the background shots and assembled them onto a card with string tails. The card was a big hit, and so easy to create! This card idea is perfect for all your friends and family, I browse outdoor catalogs for my active outdoorsy friends and/or glam it up with catalogs like JCrew, Madewell and Anthropologie.
Follow the simple steps below to create a one-of-a-kind birthday card for your next b-day celebration.
Happy crafting! Hayley
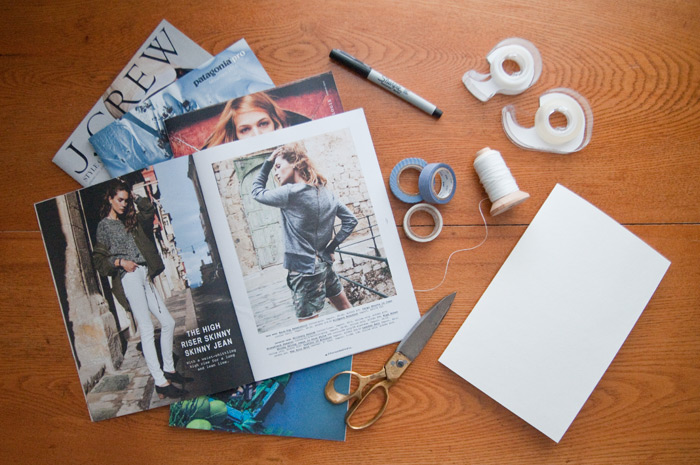
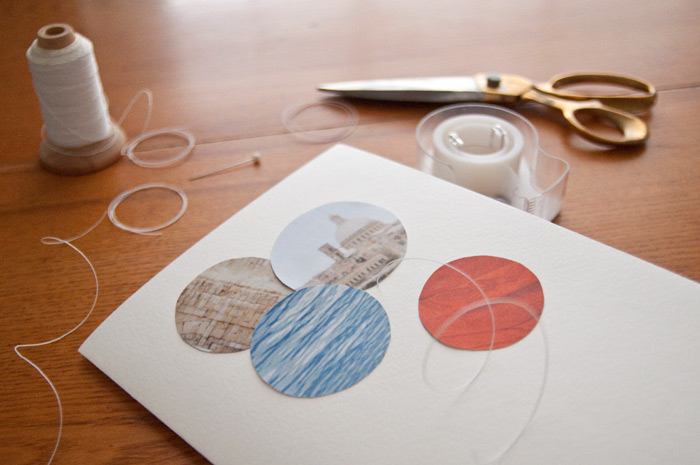
You will need your favorite catalogs and/or magazines, a pen, double-sided tape and one-sided tape, thread, circular objects for tracing (I like to use washi tape rolls) a pin or sewing needle and paper for your card (I find thicker stock works best).
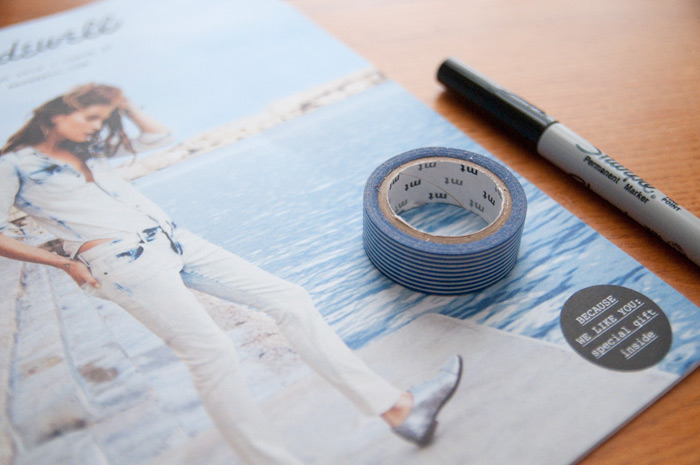
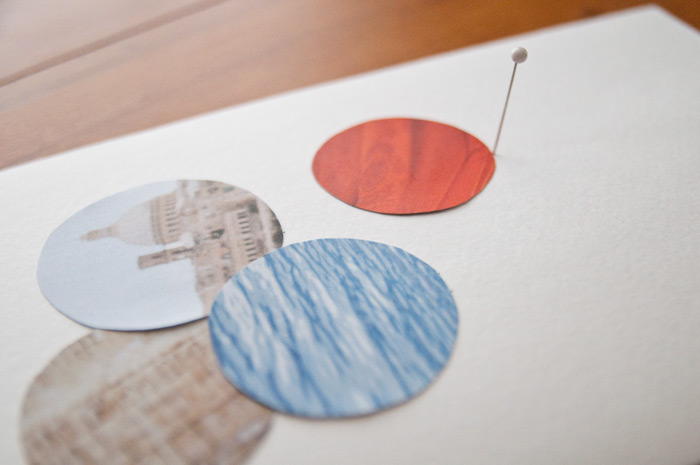
Flip through the pages and select the textures and patterns you would like to use. Place your circular object on the page and trace with your pen. Repeat until you have all the “balloons” you would like. I suggest you roughly cut around the circles so that you can more carefully trim them down once they’re free from the catalog.
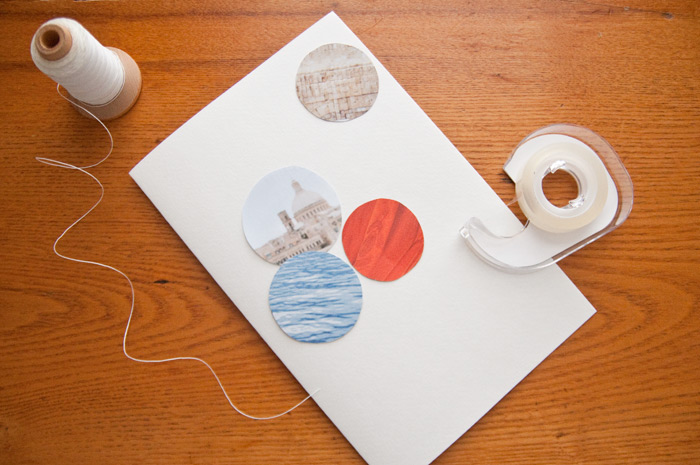
Once cut to size, play around with the arrangement on the front of the card. When you are happy with the composition, use your double-sided tape to secure them in place.
Next, use your pin or sewing needle to poke a hole through the front of the card below each of the balloons for the balloon strings.
Now cut the strings. I like mine to be a bit on the long side so that they can cascade onto the table when the card is standing up. After you have all the strings ready to go poke them through the holes and, using a piece of one-sided tape, tape the end of the string to the inside of the card. If you’d like, write a little message on the front of the card or just fill out the inside. Fini!

So cute 🙂
It so simple yet lovely one. and I think it was easy to make it by just following your provided steps. . I think I can make this easily, 🙂 and another thing, I really appreciate the photos you provided, it looks great and thanks for sharing it. 🙂
We love sharing our favorite crafts, and we really love when it is beautiful and simple! Glad you liked this project too! 🙂